
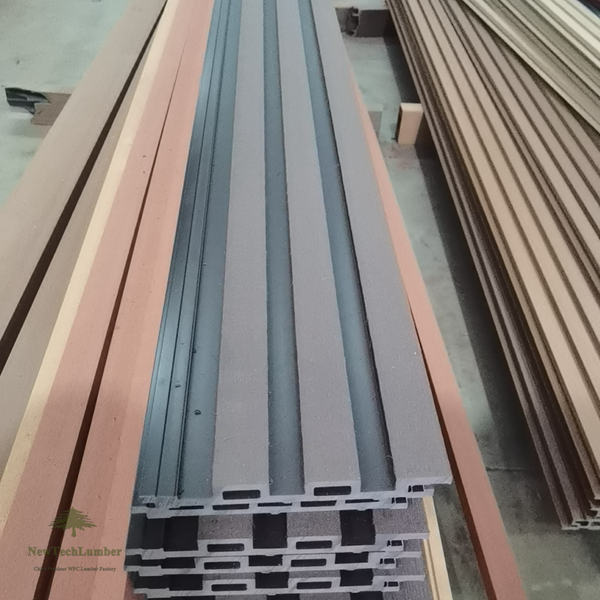
Preparing for Installation of Art 3D WPC Slat Panels
Before embarking on the installation of art 3D WPC slat panels, proper preparation is essential. Begin by selecting the location where the panels will be installed, ensuring that the surface is clean, dry, and free of any debris. Next, gather all necessary tools and materials. This includes a saw for cutting, a level, measuring tape, screws, brackets, and a drill. It is also advisable to wear safety gear, such as gloves and goggles, to protect yourself during the installation process.
Once you have your materials ready, the next step is to prepare the subframe. This typically involves constructing a sturdy framework from treated timber or metal that will support the weight of the panels. Ensure that the subframe is level and securely anchored, as a solid base is crucial for a successful installation. Measure the area accurately to determine the precise dimensions needed for the slat panels, keeping in mind any necessary expansion gaps to accommodate temperature fluctuations.
Fixing Methods for Art 3D WPC Slat Panels
There are various methods to secure the art 3D WPC slat panels to the prepared subframe. One commonly used technique is the screw method, where panels are attached directly to the subframe using corrosion-resistant screws. This method provides a strong hold and allows for easy removal or replacement if needed in the future. It is important to pre-drill the screw holes to avoid splitting the panels, especially near the edges.
Another option is to use a clip system, which allows for a more seamless finish. In this case, clips are fixed to the subframe, and the panels are then slid into place. This method not only enhances aesthetics but also makes it easier to maintain expansion gaps, which are vital for preventing warping and buckling due to heat and moisture.

Maintaining Expansion Gaps
While installing art 3D WPC slat panels, it is critical to maintain proper expansion gaps. These gaps, often around 5 to 10 millimetres, should be left between each panel and at the edges where they meet walls or other structures. This allowance is essential for accommodating the natural thermal expansion and contraction of the WPC material. Neglecting to leave sufficient gaps can result in warping, cracking, or even detachment of the panels over time.
Carefully measuring and marking where these gaps will be ensures that the installation maintains a clean, professional look while also prolonging the life of your wall decoration. Use spacers during installation to maintain consistent gaps throughout the process.
Cutting and Fitting Panels
Accurate cutting of art 3D WPC slat panels is a crucial step in the installation process. Begin by measuring the space where each panel will fit. Mark your cuts clearly on the panel, and use a saw designed for composite materials to make clean cuts. A circular saw with a fine-tooth blade is often recommended, as it minimizes chipping of the edges.
After cutting, check the fit of each panel against the subframe before securing them in place. It’s advisable to wear a dust mask during cutting to avoid inhalation of particles. Once fitted, panels should be secured as previously discussed, ensuring that they are level and aligned properly to maintain a stylish appearance.
Maintenance of Art 3D WPC Slat Panels
Additionally, applying a UV protectant designed for WPC materials can help preserve colour and prevent fading over time. Seasonal inspections are beneficial, particularly after heavy weather events, to ensure that all panels remain securely fastened and visually appealing. By following these maintenance tips, the aesthetic value and functionality of your wall decoration can be preserved for years to come.