
Preparing for Installation of WPC Wall Panel Corners
Installing WPC wall panel corners requires meticulous preparation to ensure a perfect fit and aesthetic appeal. Begin by assessing the area where the panels will be installed. Ensure the surface is clean, dry, and free of obstructions. Any existing paint or wallpaper should be removed to allow for proper adhesion. Measure the space accurately, taking into consideration the dimensions of the WPC wall panel corners you will be using. Precision in measurement will prevent any misalignment during installation, which can lead to unsightly gaps or overlaps.
Gather all necessary tools and materials before commencing the installation process. You will need adhesive suitable for WPC materials, a level, a saw for trimming the panels to size, and a caulking gun for sealant application. Having everything at hand will streamline your workflow, making the installation process more efficient.
Cutting WPC Wall Panel Corners to Size
After preparing the installation area, it is time to cut the WPC wall panel corners. Using a fine-toothed saw, make precise cuts according to the measured dimensions. Pay close attention to angles, particularly if you are working with corners that require a more intricate fit. It is advisable to cut slightly larger than necessary to allow for adjustments, as you can always trim down if needed.
Once cut, dry fit the panels in place before securing them. This will allow you to identify any necessary adjustments and ensure a snug fit. It is essential that the corners meet seamlessly, as any gaps can detract from the overall appearance and performance of the panels.
Applying Adhesive and Securing the Panels
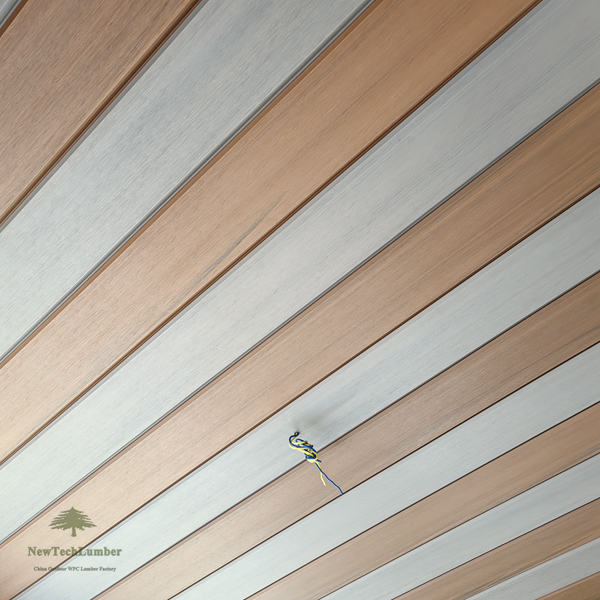
With the panels accurately cut and positioned, the next step involves applying adhesive. Select a high-quality adhesive specifically designed for WPC materials to ensure durability and longevity. Apply the adhesive to the back of the panel, covering the edges adequately to promote strong adhesion.
Carefully position the panel against the wall, using a level to confirm it is straight. Press firmly to secure the panel in place, ensuring that there are no air pockets which could weaken the bond. For additional stability, you may wish to use temporary supports while the adhesive cures. Follow the manufacturer’s recommendations regarding curing times for optimal results.
Sealing and Finishing Touches
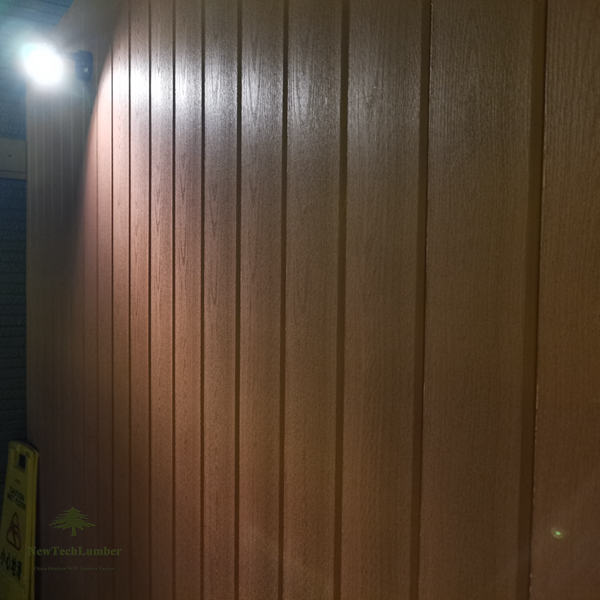
After the adhesive has set, the next phase is sealing the joints between the WPC wall panel corners and the surrounding wall. This step is vital for preventing moisture infiltration, which can cause damage over time. Use a high-quality caulk that is compatible with WPC materials. Apply a continuous bead of caulk along the seam, smoothing it out with a caulking tool or your finger for a clean finish.
Once the caulk has cured, inspect the corners for any areas that may require touch-ups. If necessary, paint or finish the WPC wall panels to match your desired aesthetic. A proper finish not only enhances the visual appeal but also adds an additional layer of protection against the elements.
Maintenance Tips for WPC Wall Panels
To ensure the longevity of your WPC wall panel corners, regular maintenance is essential. Clean the panels periodically with a mild detergent and water to remove dirt and grime. Avoid using harsh chemicals that could damage the surface. Inspect the caulking regularly to ensure it remains intact; repair or replace any damaged sections promptly to prevent water damage.
By following these installation and maintenance guidelines, you can achieve a professional finish with your WPC wall panel corners, enhancing the aesthetics and functionality of your space while ensuring the durability of the installation.