
Preparing the Subframe for WPC Installation
The foundation of a successful WPC decking or wall cladding system lies in the preparation of the subframe. Prior to starting the installation, it is essential to ensure that the area is free of debris, vegetation, and any sharp objects that could compromise the integrity of the installation. The subframe should be constructed using treated timber or metal, ensuring that it is level and adequately spaced to support the WPC material. A minimum distance of 40 cm between supports is recommended to prevent sagging.
Using WPC 3D models during the design phase can greatly enhance this process. These models allow for precise measurements and visualisation of the required subframe layout, making it easier to determine the necessary materials and their placement. By incorporating the WPC 3D model into the planning stage, you can identify any potential adjustments needed for the installation, ensuring a smooth process when it comes to the actual fitting.
Fixing Methods for WPC Products
Once the subframe is in place, the next step involves securing the WPC decking or wall cladding. For decking, hidden fasteners are the preferred choice as they provide a clean, uninterrupted surface. This method not only enhances the aesthetic but also allows for easier maintenance, as there are no visible screws to corrode or cause unsightly blemishes. The WPC panels should be installed with a slight gap for expansion, typically around 5 mm, to accommodate temperature fluctuations.
When dealing with wall cladding, a similar fastening approach can be employed. Ensure that fixing clips are used at regular intervals along the edges, allowing for a secure fit while providing the flexibility needed for natural expansion and contraction. The incorporation of WPC 3D models can be a beneficial resource at this stage, offering detailed guidance on exact positioning and spacing for the fasteners, leading to an efficient installation process.
Ensuring Proper Expansion Gaps
Expansion gaps are a critical component in any WPC installation, regardless of whether it is decking or wall cladding. Without adequate space, the panels may buckle or warp due to temperature changes. Along the edges of the decking, maintain a gap of 5 to 10 mm. If the installation is adjacent to walls, it is crucial to ensure that a gap is maintained here as well, as the WPC will expand towards the wall in warmer conditions.
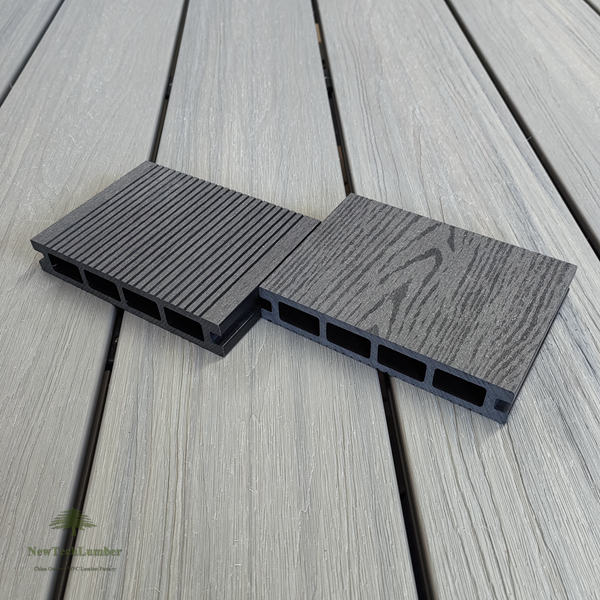
In the case of wall cladding, the same principles apply. Installation should allow for vertical expansion gaps, particularly if the wall receives direct sunlight. Using WPC 3D models can clarify where these gaps need to be applied, ensuring that the finished product not only looks appealing but also functions effectively under various environmental conditions.
Cutting WPC Panels Accurately
Accurate cutting of WPC panels is paramount for a clean finish. Employ a fine-tooth saw, either a circular or a jigsaw, to ensure precision. When cutting, it is advisable to measure and mark each panel carefully to avoid mistakes, which can lead to wasted materials. Always cut the panels with the decorative side facing down to prevent any splintering or chipping.
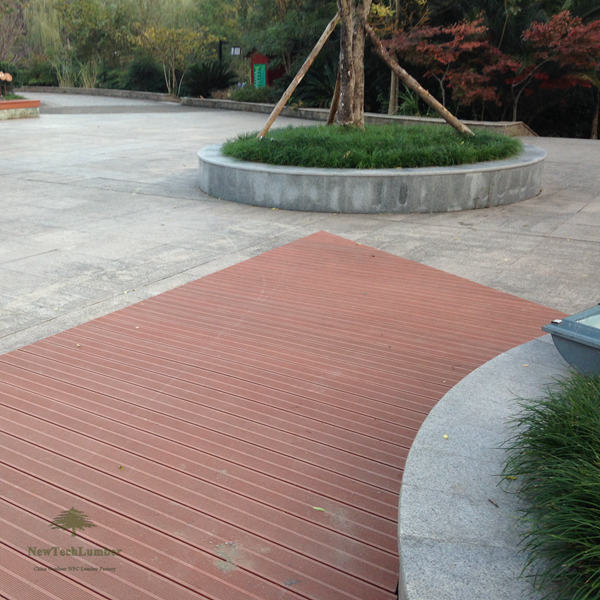
After making the cuts, it is wise to sand the edges lightly to eliminate any rough spots, which can lead to uneven installation or discomfort for users. One of the advantages of using WPC 3D models is the ability to simulate the cutting process, which can help ascertain the best cutting techniques and angles to achieve optimal results.
Maintenance Tips for WPC Installations
To prolong the lifespan of WPC decking and wall cladding, regular maintenance is essential. Cleaning should be carried out using a mild detergent and soft brush, avoiding harsh chemicals that could degrade the material. It is advisable to sweep the surface regularly to prevent dirt and debris buildup.
Inspecting the fasteners and the overall structure periodically can help identify any issues before they escalate. If any panels become loose or show signs of wear, replacing them promptly will maintain both the appearance and structural integrity of the installation. Integrating the design and maintenance plans using WPC 3D models can streamline this process, making it easier to visualise the required upkeep and repairs over time.